From the archive
HoloLens Tutorial – Cursor and Voice
Last Updated: Apr 30, 2017
Tutorial Accomplishments- Add a cursor to the scene
- Add A Voice Command to the scene
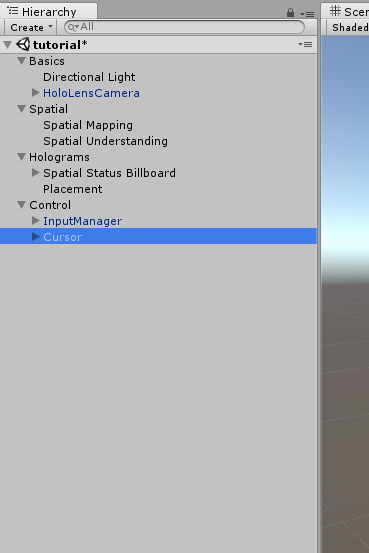 Build and Deploy the project. Notice how the cursor aligns to the spatial map as you are mapping the room. This is because each triangle of the spatial map has a collider attached when it is created. You will also notice that the cursor tracks the billboard, this is because of the attached Box Collider. Finish the spatial map, notice how the cursor goes through the holograms. This is because these objects don't have colliders. Let's fix these two issues. Edit ObjectCollectionManager and change the contents to this:
https://gist.github.com/CameronVetter/3cffd167b4738ff0e4c4ba5baa21cd86
This is a very minor change adding a line into CreateTree that adds a collider to each object as it is being instantiated, and a new method that adds a collider to each gameobject and all of its child objects which we use to add colliders to the buildings.
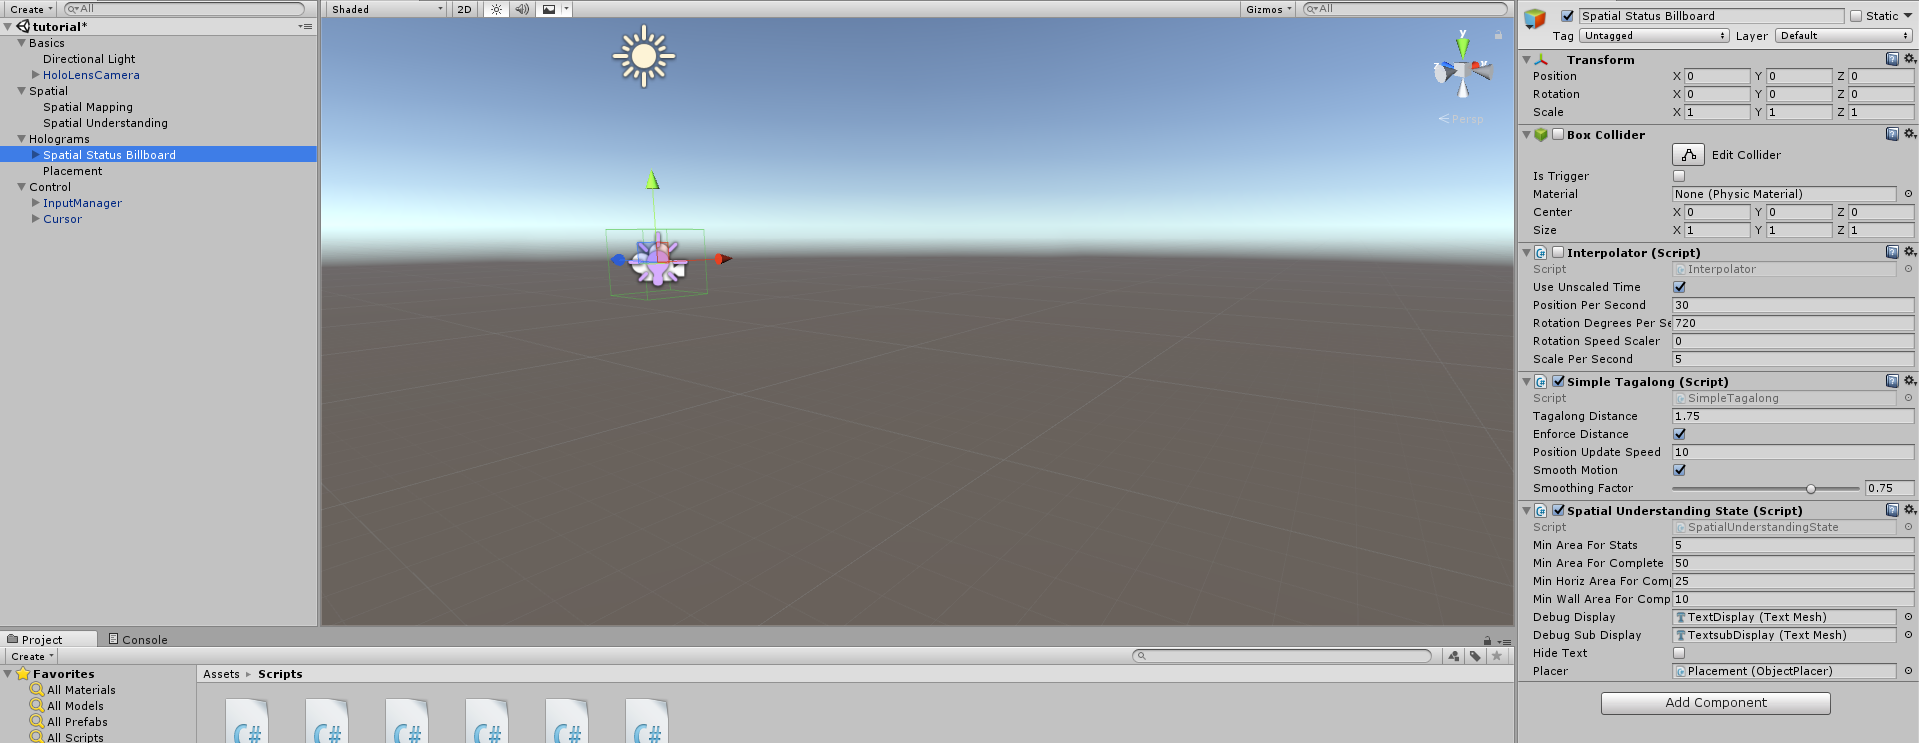
Open Unity 3D. Select the Spatial Status Billboard GameObject in the Hierarchy and disable the box collider. The Components should look like this:
Build and Deploy the project. Notice how the cursor aligns to the spatial map as you are mapping the room. This is because each triangle of the spatial map has a collider attached when it is created. You will also notice that the cursor tracks the billboard, this is because of the attached Box Collider. Finish the spatial map, notice how the cursor goes through the holograms. This is because these objects don't have colliders. Let's fix these two issues. Edit ObjectCollectionManager and change the contents to this:
https://gist.github.com/CameronVetter/3cffd167b4738ff0e4c4ba5baa21cd86
This is a very minor change adding a line into CreateTree that adds a collider to each object as it is being instantiated, and a new method that adds a collider to each gameobject and all of its child objects which we use to add colliders to the buildings.
Open Unity 3D. Select the Spatial Status Billboard GameObject in the Hierarchy and disable the box collider. The Components should look like this:
 Build and Deploy your application. After you finish deploying notice that the cursor tracks exactly to the real world objects and to the holograms and does not track the billboard.
The cursor is a fundamental component of any HoloLens application and I recommend that you add it at the beginning of your project. I added it late in this tutorial to demonstrate that although the Cursor is a prefab that just works, you need to be aware of what objects you add colliders to and which ones you do not in order to get the desired behavior for your app.
Voice Commands
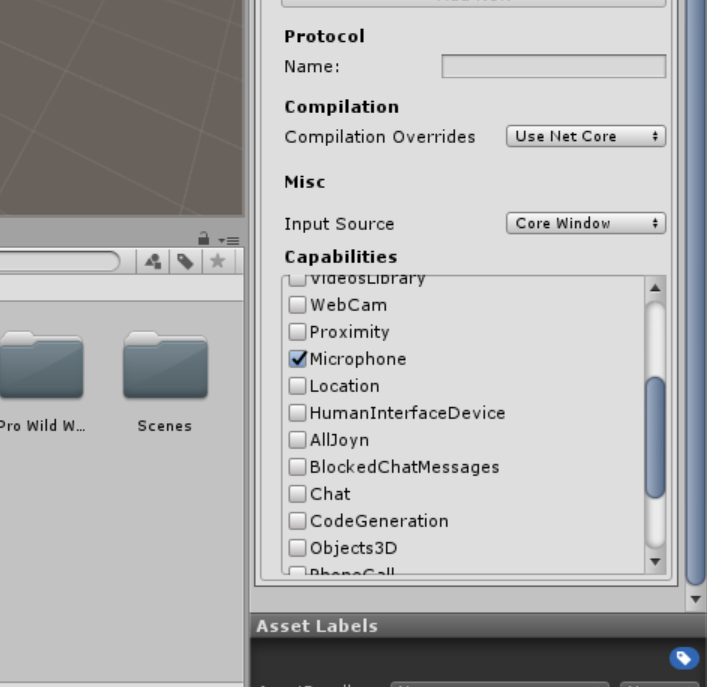
Open the project in Unity. Edit the Player Settings and add the microphone permission:
Build and Deploy your application. After you finish deploying notice that the cursor tracks exactly to the real world objects and to the holograms and does not track the billboard.
The cursor is a fundamental component of any HoloLens application and I recommend that you add it at the beginning of your project. I added it late in this tutorial to demonstrate that although the Cursor is a prefab that just works, you need to be aware of what objects you add colliders to and which ones you do not in order to get the desired behavior for your app.
Voice Commands
Open the project in Unity. Edit the Player Settings and add the microphone permission:
 Create a new Script called Speech.cs in your scripts folder. Open it in Visual Studio and add the following contents:
https://gist.github.com/CameronVetter/2058cde61e8567982a886be43d56e35e
This script provides one method that toggles the drawing of the spaial mapping mesh on and off.
Create a new Empty Gameobject called Speech under the GameObject Control. Add the HoloToolkit Component Keyword Manager to the Speech GameObject. Add the Speech.cs script to the Speech GameObject. Configure the properties to look like this:
Create a new Script called Speech.cs in your scripts folder. Open it in Visual Studio and add the following contents:
https://gist.github.com/CameronVetter/2058cde61e8567982a886be43d56e35e
This script provides one method that toggles the drawing of the spaial mapping mesh on and off.
Create a new Empty Gameobject called Speech under the GameObject Control. Add the HoloToolkit Component Keyword Manager to the Speech GameObject. Add the Speech.cs script to the Speech GameObject. Configure the properties to look like this:
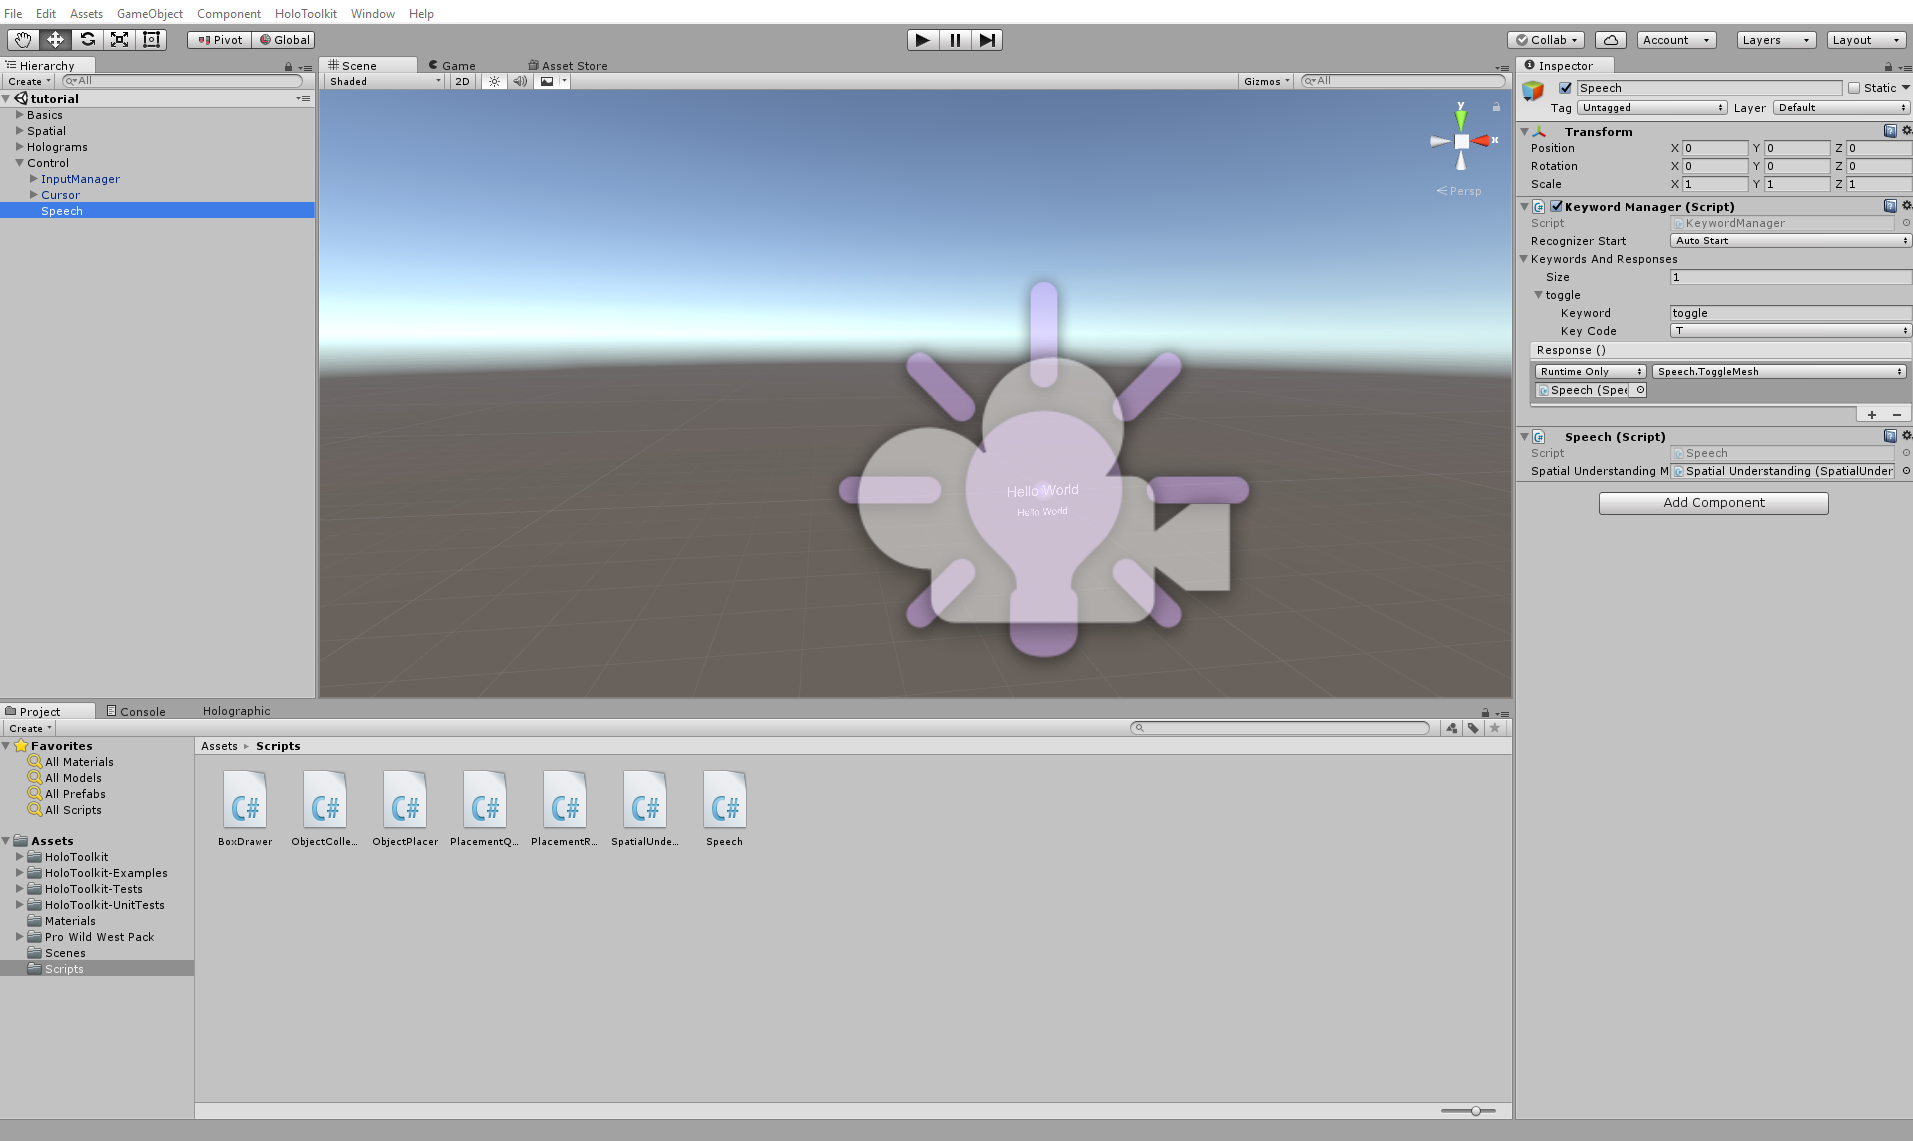 The Keyword Manager is configured to start automatically, and will response to the keyword "Toggle". When Toggle is detected by the keyword manager, it calls the ToggleMesh method of the instance of the Speech script also attached to this gameobject. The Speech Component gets a reference to the Spatial Understanding Custom Mesh so that it can manipulate the visibility of the Mesh.
Build and Deploy the application. You should be to speak the word "Toggle" at any time to show/hide the current spatial mesh. Notice that even after you finalize the spatial mesh you can use "Toggle" to turn the mesh back on.
Tutorial Index
[rps-include post=186]
The Keyword Manager is configured to start automatically, and will response to the keyword "Toggle". When Toggle is detected by the keyword manager, it calls the ToggleMesh method of the instance of the Speech script also attached to this gameobject. The Speech Component gets a reference to the Spatial Understanding Custom Mesh so that it can manipulate the visibility of the Mesh.
Build and Deploy the application. You should be to speak the word "Toggle" at any time to show/hide the current spatial mesh. Notice that even after you finalize the spatial mesh you can use "Toggle" to turn the mesh back on.
Tutorial Index
[rps-include post=186]Originally published May 3, 2017. Preserved from the legacy CameronVetter.com archive.