From the archive
HoloLens Tutorial - Spatial Understanding
Last Updated: Apr 23, 2017
Tutorial Accomplishments- Add Spatial Understanding
- Show Spatial Understanding Quality on Billboard
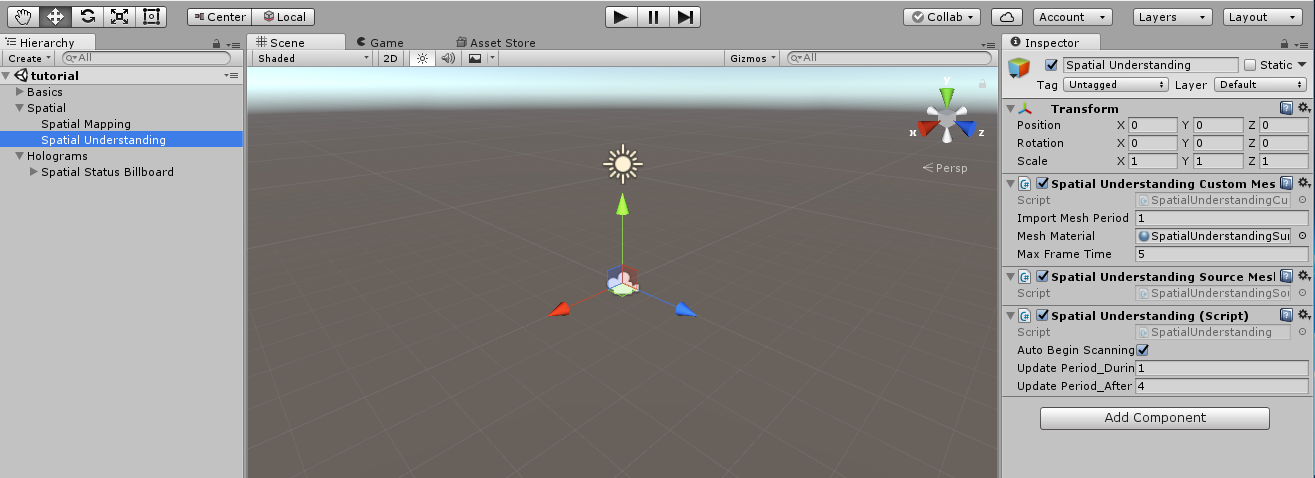 Now select the Spatial Mapping node in the Hierarchy. Uncheck the Draw Visual Meshs check box so that the spatial mapping is no longer drawn. This gameobject should now look this:
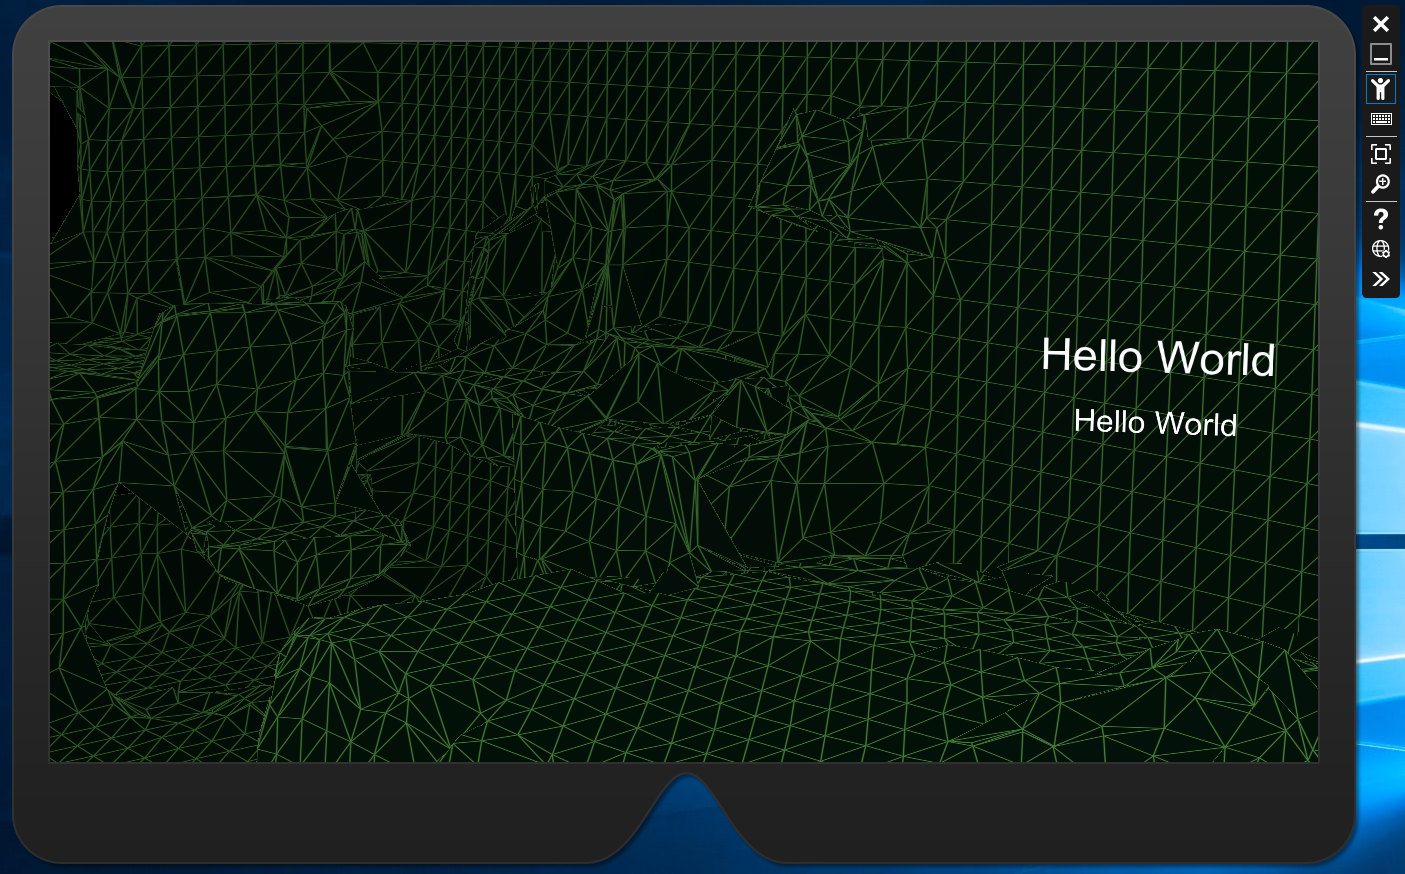
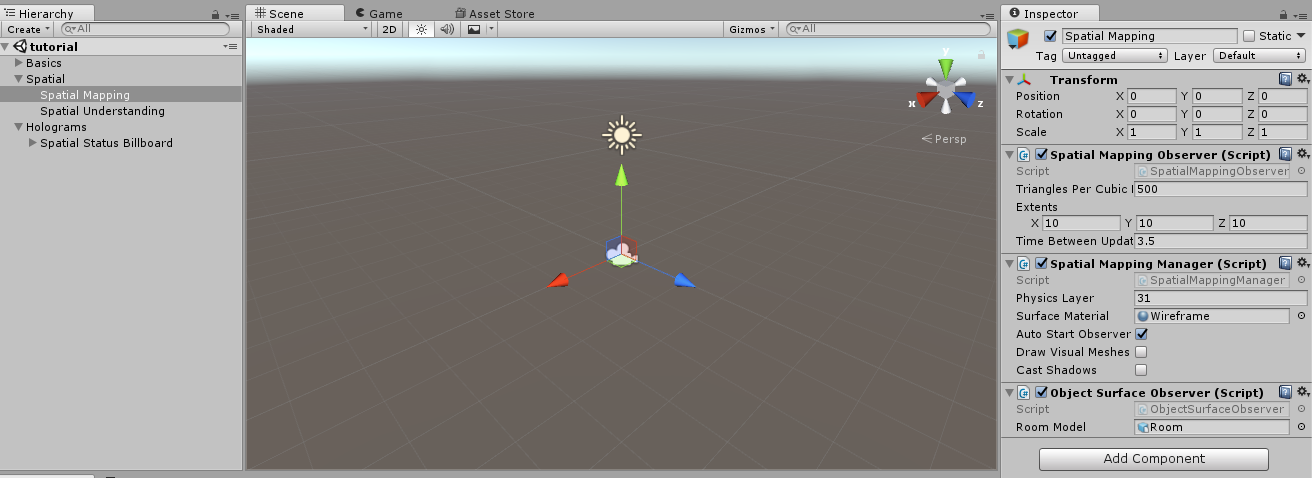 Spatial Understanding currently does not work in the Unity Editor. (This is supposed to be fixed, but as of the last update still did not work) Build your application and deploy to either the device or the emulator. You should now be able to map the room with the Spatial Understanding Mesh which is more detailed in appearance than the Spatial Mapping Mesh. You should see something like this:
 Show Spatial Understanding Quality on Billboard
The application needs to give the user feedback on how good their spatial map is so the user can decide when spatial mapping is complete. I recommend that the developer should understand what is required for your app to work and show the user what is needed to meet that threshold. For our tutorial we will simply output the raw quality information onto our billboard so that we can understand how the quality is changing in real time. (To give credit where credit is due, the format of the info displayed here and some of the code is borrowed from the spatial understanding example included with the HoloToolkit here)
In the project Assets folder create a new folder called Scripts. This is the location where all of our custom code will be stored. Because this project is fairly simple, we will place all of them at the root of this folder, if the project was more complicated I recommend creating a folder hierarchy to keep the custom project code organized. Create a new script named "SpatialUnderstandingState" in the Scripts folder. This script will contain the logic for displaying information on the billboard.
Double Click the SpatialUnderstandingState.cs file to open it in Visual Studio. Start by changing the class that is created to contain the following contents:
https://gist.github.com/CameronVetter/3f1d20fd6e5330f22135421b265a23d2
This creates the basic skeleton of the script that will update the billboard message with each frame. The update method is called once per frame, it calls the Update_DebugDisplay method. This methods updates the text and color based on calls to properties that return hard coded values for now.
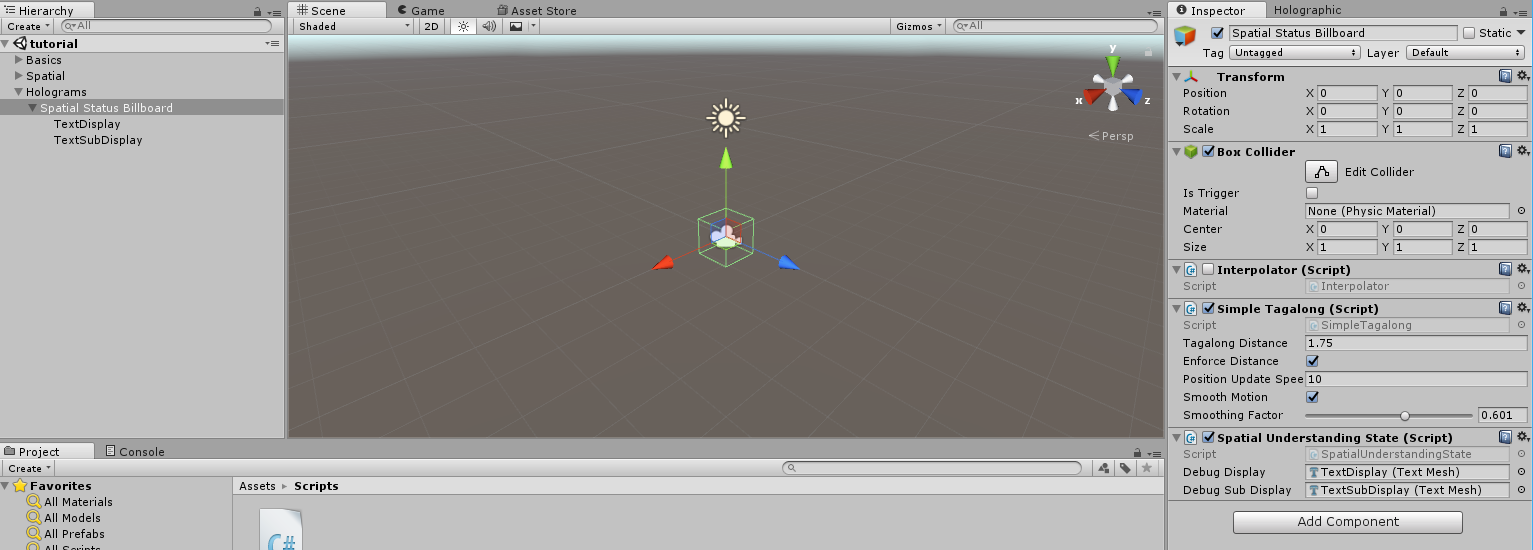
For this script to execute we need to add it to a GameObject. In Unity select the Spatial Status Billboard in the Hierarchy. In the Inspector click Add Component. Select the Spatial Understanding State component that we just created. Set the Debug Display property to the TextDisplay TextMesh Component. Set the Debug Sub Display property to the TextSubDisplay TextMesh Component. Your new component should now look like this:
Show Spatial Understanding Quality on Billboard
The application needs to give the user feedback on how good their spatial map is so the user can decide when spatial mapping is complete. I recommend that the developer should understand what is required for your app to work and show the user what is needed to meet that threshold. For our tutorial we will simply output the raw quality information onto our billboard so that we can understand how the quality is changing in real time. (To give credit where credit is due, the format of the info displayed here and some of the code is borrowed from the spatial understanding example included with the HoloToolkit here)
In the project Assets folder create a new folder called Scripts. This is the location where all of our custom code will be stored. Because this project is fairly simple, we will place all of them at the root of this folder, if the project was more complicated I recommend creating a folder hierarchy to keep the custom project code organized. Create a new script named "SpatialUnderstandingState" in the Scripts folder. This script will contain the logic for displaying information on the billboard.
Double Click the SpatialUnderstandingState.cs file to open it in Visual Studio. Start by changing the class that is created to contain the following contents:
https://gist.github.com/CameronVetter/3f1d20fd6e5330f22135421b265a23d2
This creates the basic skeleton of the script that will update the billboard message with each frame. The update method is called once per frame, it calls the Update_DebugDisplay method. This methods updates the text and color based on calls to properties that return hard coded values for now.
For this script to execute we need to add it to a GameObject. In Unity select the Spatial Status Billboard in the Hierarchy. In the Inspector click Add Component. Select the Spatial Understanding State component that we just created. Set the Debug Display property to the TextDisplay TextMesh Component. Set the Debug Sub Display property to the TextSubDisplay TextMesh Component. Your new component should now look like this:
 Press Play on your project, you will see that the Hello World from the Billboard has changed to "PrimaryText" and "DetailsText" by the new script.
Next we will make that text show the spatial understanding status. Open SpatialUnderstandingState.cs for editing. Update the class with the following code:
https://gist.github.com/CameronVetter/1fd7ecd1370f59373d0eff3baaa965e8
The Property PrimaryText has now been given some business logic. This property tells the user the state of the current scan and also adds the SpaceQueryDescription, which when set, is shown to the user instead of the scan state, we will use that later. Press Play and you will now see the current state of the spatial mapping process is displayed. Next lets set the DetailsText property. Open SpatialUnderstandingState.cs for editing. Update the class with the following code:
https://gist.github.com/CameronVetter/fddc0928d44a3af9f36b1f28eeeaa4c2
Build and Deploy to HoloLens or to an Emulator. Once the Spatial Understanding map is displayed, and we cross the minimum threshold, stats are displays about the quality of the scan. This information will be used in the next section.
Tutorial Index
[rps-include post=186]
Press Play on your project, you will see that the Hello World from the Billboard has changed to "PrimaryText" and "DetailsText" by the new script.
Next we will make that text show the spatial understanding status. Open SpatialUnderstandingState.cs for editing. Update the class with the following code:
https://gist.github.com/CameronVetter/1fd7ecd1370f59373d0eff3baaa965e8
The Property PrimaryText has now been given some business logic. This property tells the user the state of the current scan and also adds the SpaceQueryDescription, which when set, is shown to the user instead of the scan state, we will use that later. Press Play and you will now see the current state of the spatial mapping process is displayed. Next lets set the DetailsText property. Open SpatialUnderstandingState.cs for editing. Update the class with the following code:
https://gist.github.com/CameronVetter/fddc0928d44a3af9f36b1f28eeeaa4c2
Build and Deploy to HoloLens or to an Emulator. Once the Spatial Understanding map is displayed, and we cross the minimum threshold, stats are displays about the quality of the scan. This information will be used in the next section.
Tutorial Index
[rps-include post=186]Originally published December 21, 2016. Preserved from the legacy CameronVetter.com archive.